
Post-Op Sensitivity Isn't Bad Luck — It's Technique
Five preventable causes of post-operative sensitivity after composite restorations, and the chairside protocols that eliminate each one.
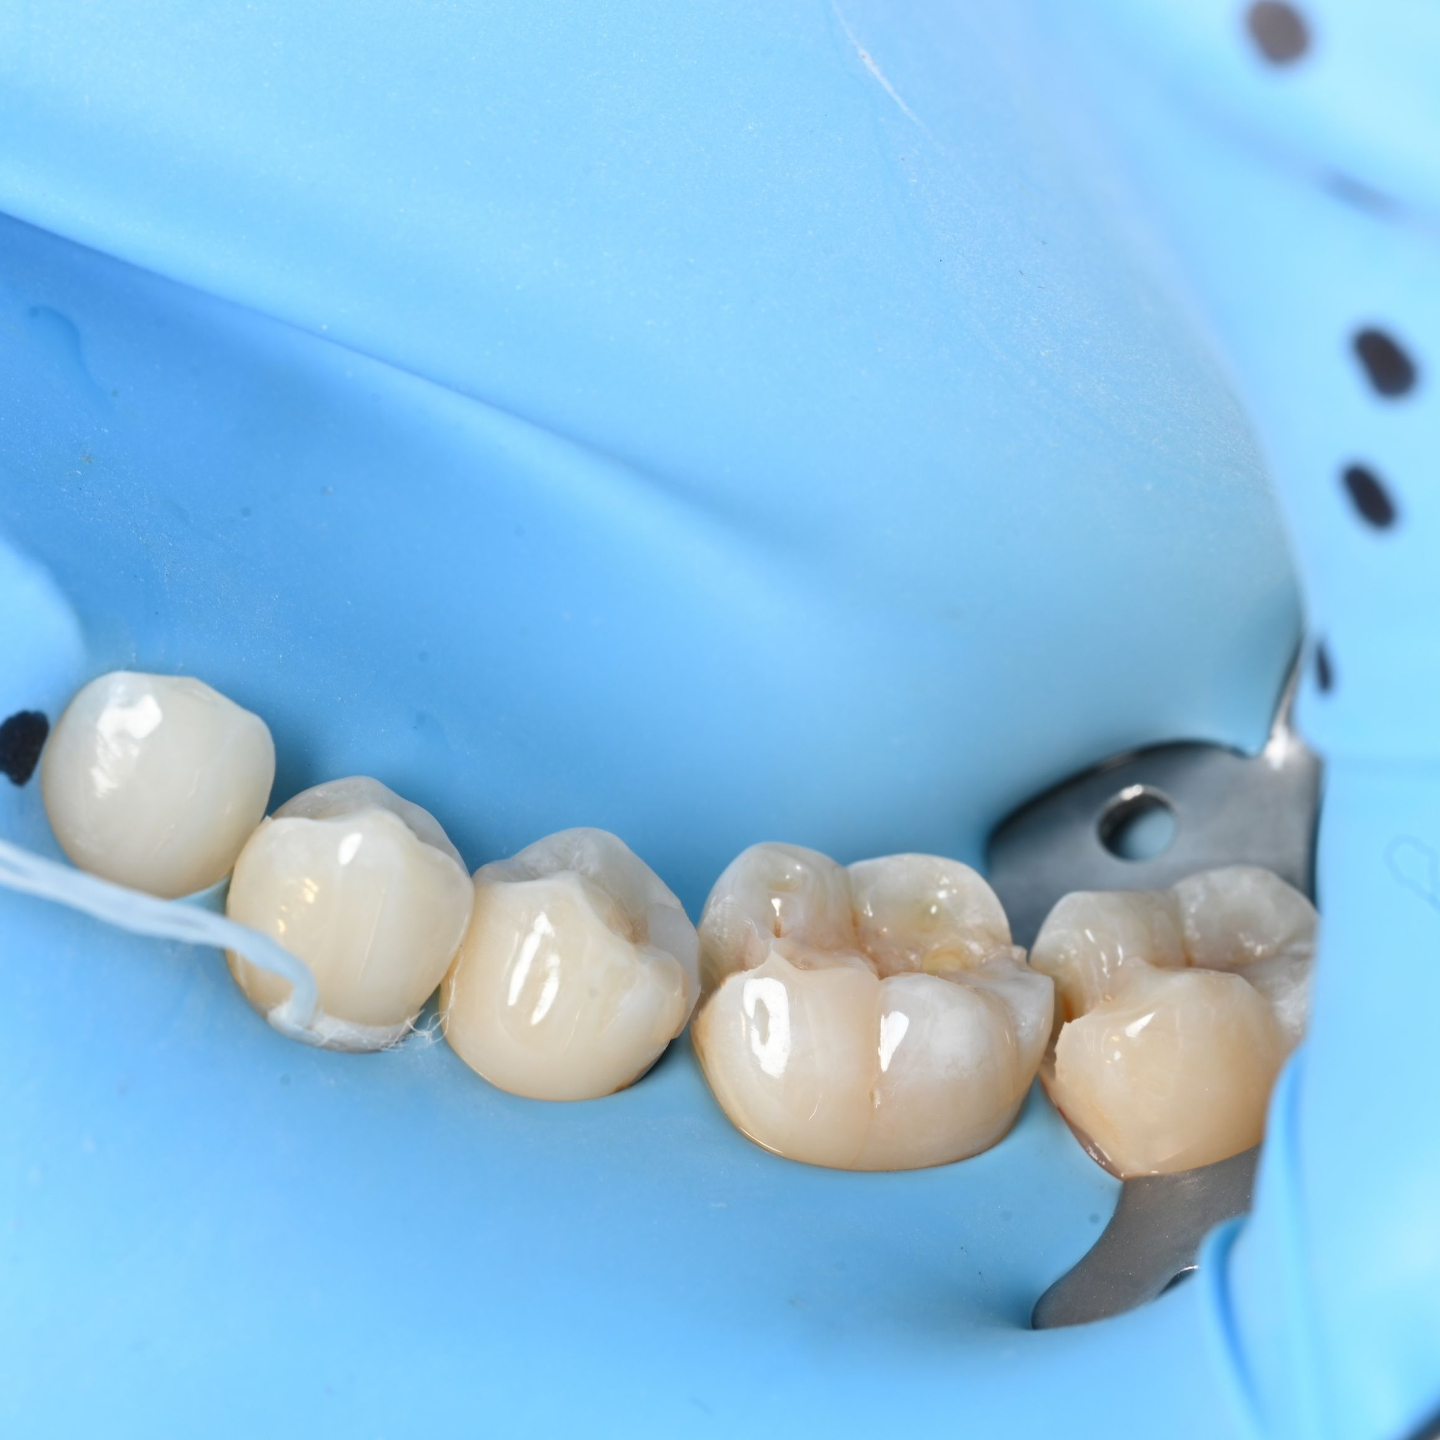
Post-Op Sensitivity Is Almost Always Preventable
Sensitivity after a composite isn't a random stroke of bad luck. It traces back to a handful of technique-sensitive steps — and once you know where the failure points are, you can design them out of your workflow.
You finish a composite, the margins are clean, the occlusion checks out, and the patient leaves happy. A week later their name is back on your schedule — cold that lingers, or pain when they bite down. It's one of the more deflating things in restorative dentistry, partly because it feels random.
It isn't. Almost all post-op sensitivity traces back to five recurring causes. Here's each one, and what I actually do about it chairside.
The Five Most Common Causes
1. Over-etching the dentin
Phosphoric acid does great things on enamel — it creates a high-energy surface that resin loves. But it's aggressive on dentin. Leave the gel on too long and you strip the smear layer and demineralize deeper than your adhesive can realistically infiltrate. What you're left with is a band of exposed collagen that never gets fully encased in resin, and that's where the trouble starts.
The fix is mostly about the clock. I don't etch dentin for longer than 15 seconds, full stop. And if I want to take the risk off the table entirely, I'll selectively etch — phosphoric acid on the enamel margins only, and a self-etch universal adhesive doing the work on the dentin.
2. Drying the prep too aggressively
Keep Brännström's hydrodynamic theory front of mind here: it's fluid movement inside the dentinal tubules that sets off the nerves in the pulp. When you blast a prep with the air-water syringe until it's chalky and bone-dry, you collapse the collagen network and pull fluid out of the tubules. The adhesive can't hybridize the way it's meant to, and you're left with empty space where every bite drives fluid movement — and pain.
Dentin should look slightly moist. Glistening, not pooled, and definitely not dry. Instead of chasing it with air, I blot the excess with a damp cotton pellet or a microbrush before the adhesive goes down.
3. Under-curing
This one is sneakier than it sounds. Unpolymerized monomer is toxic to the pulp, and if your light isn't delivering enough energy to the floor of the box, the composite down there stays soft and chemically unstable. You also get more polymerization shrinkage stress, which pulls on the cusps and opens micro-gaps at the margin.
You can't really over-cure a restoration, but you can easily under-cure one — so when I'm unsure, I cure longer. Keep the tip as close and as perpendicular as you can, and actually test your light's output now and then instead of assuming it's fine. On a deep Class II, I'll cure from the buccal and lingual once the matrix is off, just to be sure the whole increment is polymerized.
4. Contamination
This is the one that makes even the best adhesive on the market useless. A single drop of saliva, blood, or sulcular fluid during bonding disrupts the hybrid layer, and from there it's bond degradation, microleakage, and sensitivity.
It's also the strongest argument for the rubber dam — a well-inverted dam is still the most predictable way to keep your field dry. When a dam genuinely isn't workable, I'll lean on whatever solid isolation I can get, whether that's Isolite, cotton rolls, or retraction cord. The standard doesn't change: a dry field from the first etch to the final cure.
5. Mishandling a deep or exposed pulp
The last one shows up with deep carious lesions — a pulp that "blushes" pink through a paper-thin layer of remaining dentin, or a frank mechanical or carious exposure. If you etch and bond straight over that, the chemical insult will often tip the tooth into irreversible pulpitis.
When I see a blush or a small exposure, I slow down rather than push through. Clean the area thoroughly, then protect the pulp with a bioceramic — MTA or Biodentine. They're biocompatible, they seal well, and they encourage a reparative dentin bridge that keeps the tooth vital and quiet.
Clinical Takeaways
- Cap dentin etching at 15 seconds — or switch to a selective-etch technique, phosphoric acid on enamel margins only.
- Leave dentin visibly moist — blot excess with a damp pellet or microbrush instead of blasting it dry with air.
- When in doubt, cure longer — keep the tip close and perpendicular, test your light's output, and double-cure deep Class II boxes after matrix removal.
- Commit to a dry field — rubber dam first; robust isolation always. One drop of contamination compromises the hybrid layer.
- Protect close or exposed pulps — clean the area and place a biocompatible bioceramic liner (MTA or Biodentine) before restoring.
Questions This Article Answers
How long should you etch dentin to avoid sensitivity?
No longer than 15 seconds. Over-etching demineralizes dentin deeper than the adhesive can infiltrate, leaving exposed collagen that drives post-op sensitivity. Selective-etch technique removes the risk entirely on the dentin.
Should dentin be dry before bonding?
No. Dentin should look slightly moist and glistening — never chalky or bone-dry. Desiccating the prep collapses the collagen network and prevents proper hybridization, which is a leading cause of sensitivity per Brännström's hydrodynamic theory.
Can you over-cure a composite?
Practically, no — but you can easily under-cure one. Under-curing leaves toxic unpolymerized monomer near the pulp and increases shrinkage stress. When unsure, extend the cure and verify your light's output.
Why does isolation matter so much for sensitivity?
A single drop of saliva, blood, or sulcular fluid disrupts the hybrid layer, causing bond degradation, microleakage, and sensitivity. A well-inverted rubber dam is the most predictable way to maintain a dry field.
What should you do with a blushing pulp or small exposure?
Do not etch and bond directly over it. Clean the area and protect the pulp with a bioceramic such as MTA or Biodentine, which seal well and encourage a reparative dentin bridge to keep the tooth vital.
Dr. Melissa Seibert
DMD, MS, FAGD, ABGD
Dr. Melissa Seibert is a clinician, educator, speaker, and the founder of Elevated GP, a virtual study club and advanced education community for general dentists who want to become exceptional comprehensive clinicians. She is also the creator and host of the Dental Digest Podcast, dedicated to helping dentists stay on the cutting edge of evidence-based dentistry.
Publications & SpeakingElevate Your Restorative Outcomes
Elevated GP helps you turn evidence-based principles into everyday clinical judgment through live CE, case-based mentorship, on-demand education, and a community of dentists committed to excellence.
Explore Elevated GPStudies & Resources
- Brännström, M. The hydrodynamic theory of dentinal pain: sensation in preparations, caries, and the dentinal crack syndrome. PubMed Search
- Selective etching and self-etch adhesives: effect of etching time on dentin bond strength and post-operative sensitivity. PubMed Search
- Effect of moist versus dry dentin bonding on hybrid layer formation and post-operative sensitivity. PubMed Search
- Adequacy of light curing and its relationship to polymerization shrinkage stress and pulpal response. PubMed Search
- Rubber dam isolation and the success of adhesive restorations: a systematic review. PubMed Search
- MTA and Biodentine for vital pulp therapy and direct pulp capping: outcomes and dentin bridge formation. PubMed Search